1) - In order to select samples
wich will be exported there is an option in ISIscan program that
sends data to a folder named “Selected samples”.
The
sample selection is something already known by the NIR users.
Spectra can be selected one by one , using the mouse and pressing
the CTRL key at the same time or a group of spectra can also be
selected , making a click on the first one and pressing the SHIFT
key , before clicking on the last one…
A right
click on the mouse just after the sample selection give the
opportunity to select samples…
Figure
0
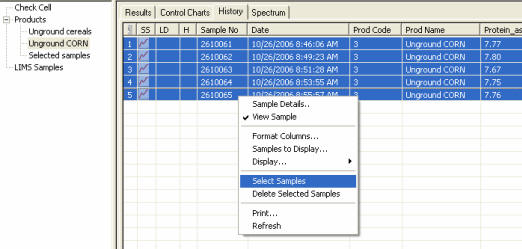
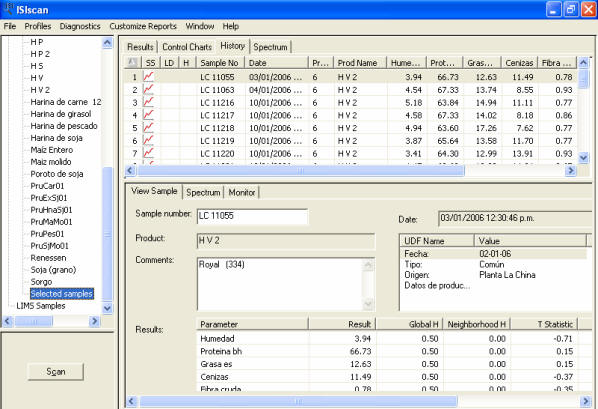
Data can be collected in a general way by choosing samples (going to
Products > History) and then sending them to Selected Samples
(Figures 0, 1 and 2); or by a definite raw material project clicking
with right button into the raw material folder, and then clicking on
“Search” (Figure 3). Once the filters have been defined (Figure 4),
data will be copied to “Selected samples” folder (Figure 5). ( Just
after you click on search, the software, automatically transfers
“the result of his research “ into the “ selected samples “ folder).
This last proceeding
can be repeated with several raw material data to generate only one
export file.
Figure 1
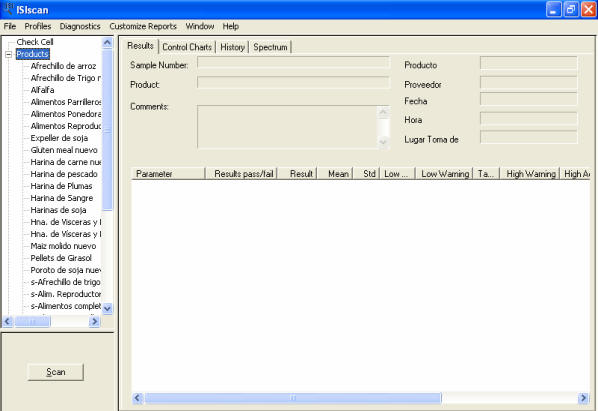
Figure 2
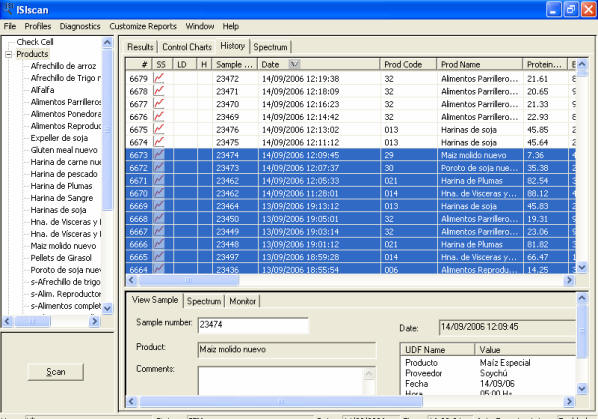
Figure 3
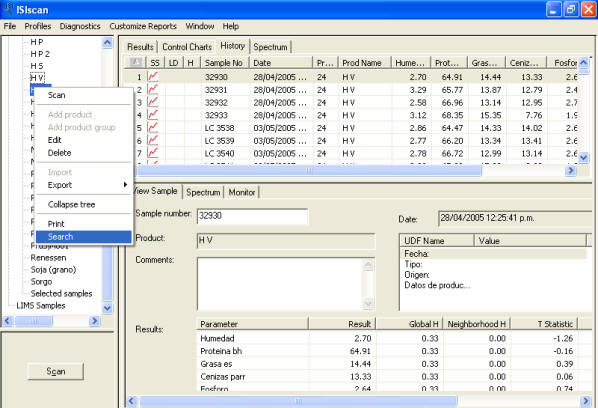
Figure 4
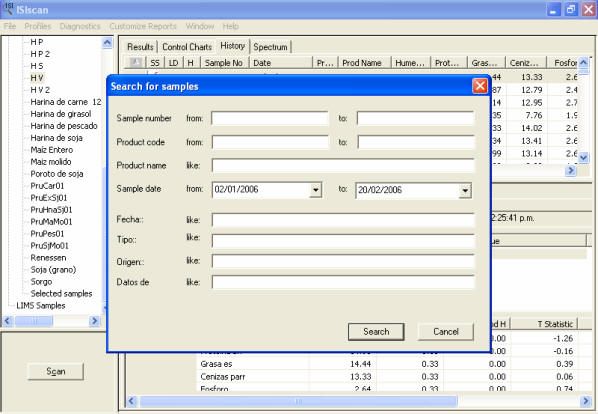
Figure 5
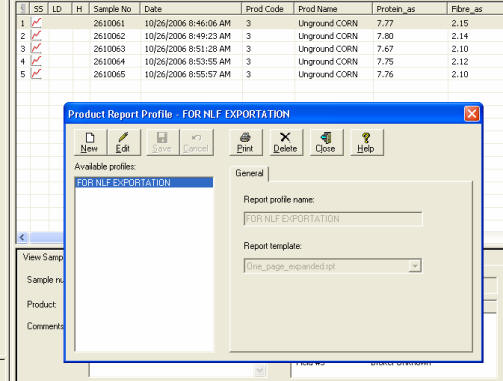
2) - Before
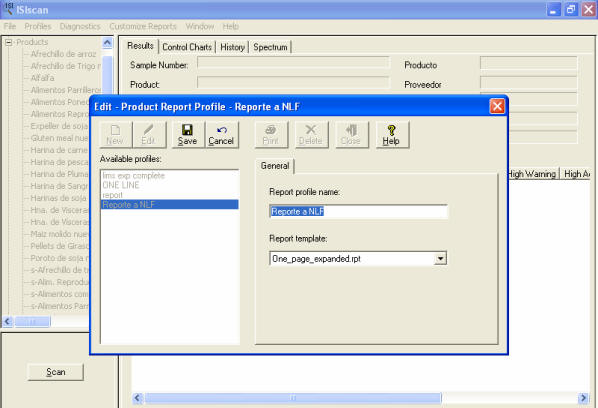
exporting data, it is necessary to define a new specific report
profile in “one_page_expanded.rpt” template so that NLF can
read the data to import (Figure 6).
This template has to be defined, once for ever… not each time you
need to export data. You can re-use the same template.
Figure 6
3)
-
With all data into the “Selected samples” folder, click on it with
right button and choose “Export” > “Export Data” options (Figure 7)
In the following
screens click on “OK” (Figures 8, 9 and 10)
Figure 7
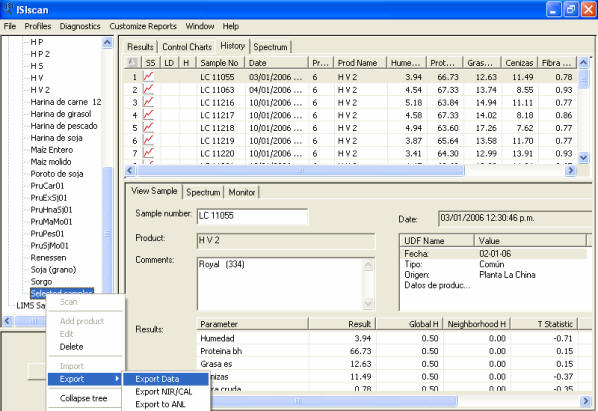
Figure 8
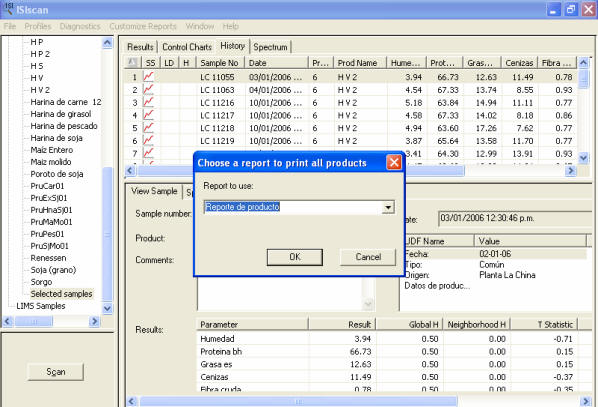
Note : The report to use : should be the same as the one you
have defined in the Product Report Profile ( like below ).
From this step,
things will be a little different between ISISCAN version 2.81 and
2.83 !
With ISISCAN 2.81 :
Figure 9
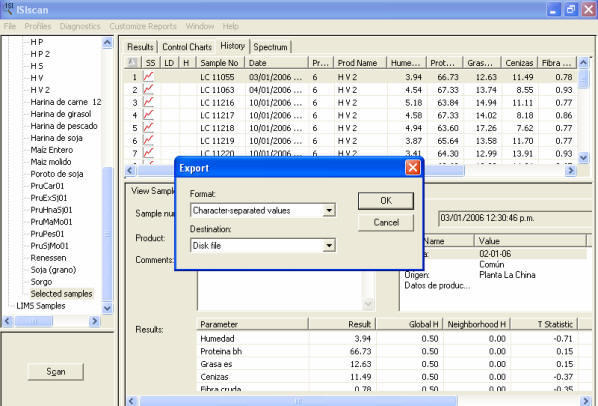
Figure 10
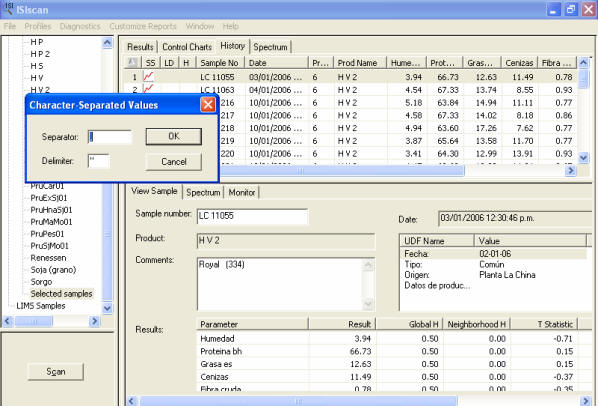
Figure 11
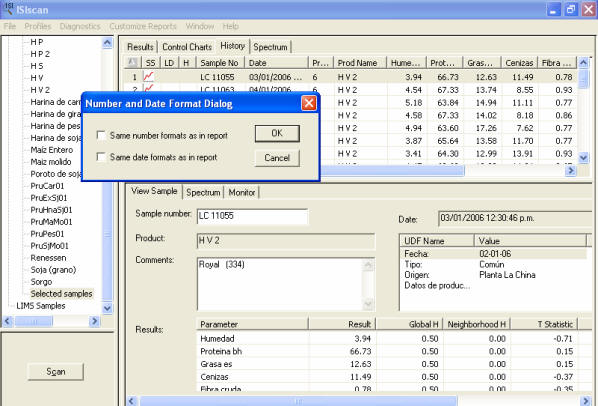
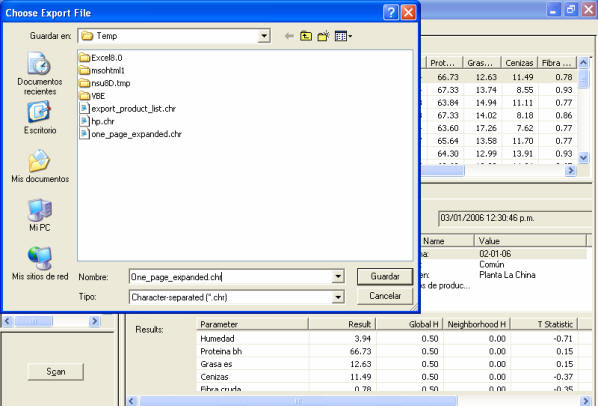
Finally, define name and folder destination of data file (Figure
12).
Figure 12
Now with ISISCAN 2.83
:
You
select your template…
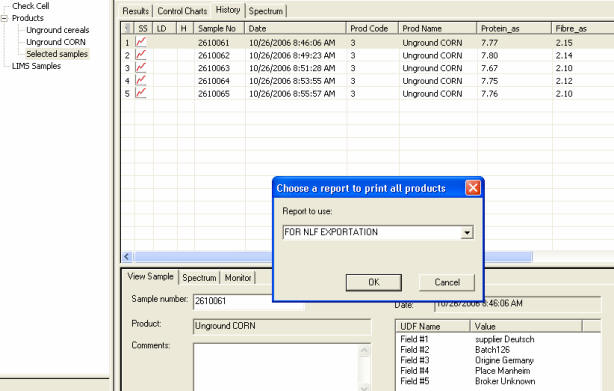
After you click on OK , you may have to wait a bit until the
computer gives you the next screen…
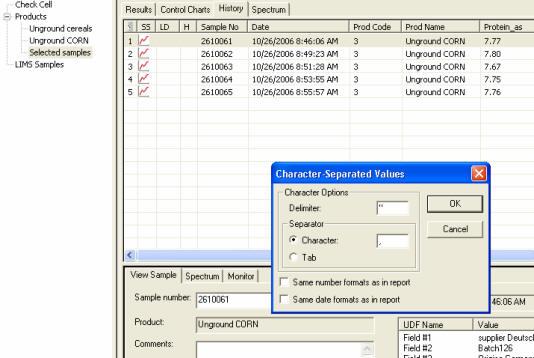
Then you select the format : Separated Values ( CSV )
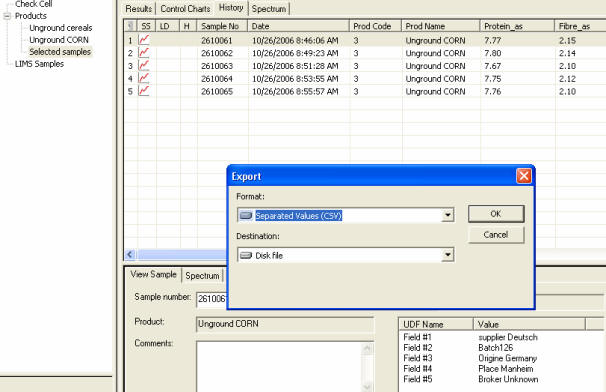
You
keep the default settings as below :
Then, you can choose the folder and the file name you want to use (
with the extensión CSV ).
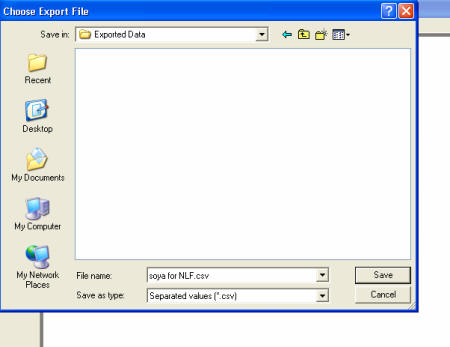
This CSV file is the file that will be read by the NLF software.